Wednesday, 17 June 2020

Main Form Dialog in Project for the web and D365 PSA


The April 2020 preview release for Model-driven apps has a new feature, which makes it possible to open a record in a dialog. This new feature is called Main form Dialog (MFD). Quoting Microsoft’s blog post about MDF, ” With this feature you can now open a related record entity on a parent or base form without requiring the user to navigate away, your users can stay in context and edit an existing record or create a new one.”
MFD is a developer feature, meaning it takes code to light it up. This blog post is will give you a high-level understanding of how MFD can be lit up so that you have an understanding of how it can help you in your scenarios. Additional code examples and use cases can be found on docs.microsoft.com.

Requirements and goals of the exercise

This blog post will demonstrate how MFD can be lit up for the Project entity in Project for the web (P4W) and D365 PSA. Let’s define the example’s requirements before we light up MFD:
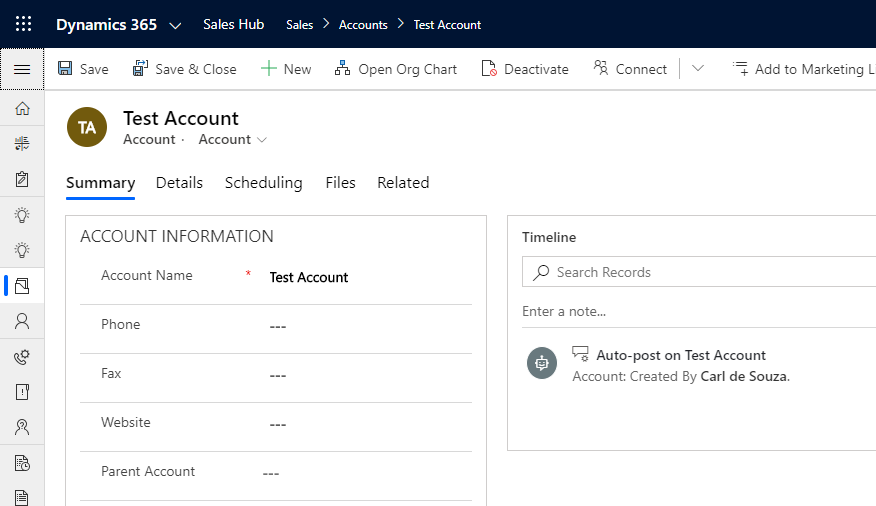
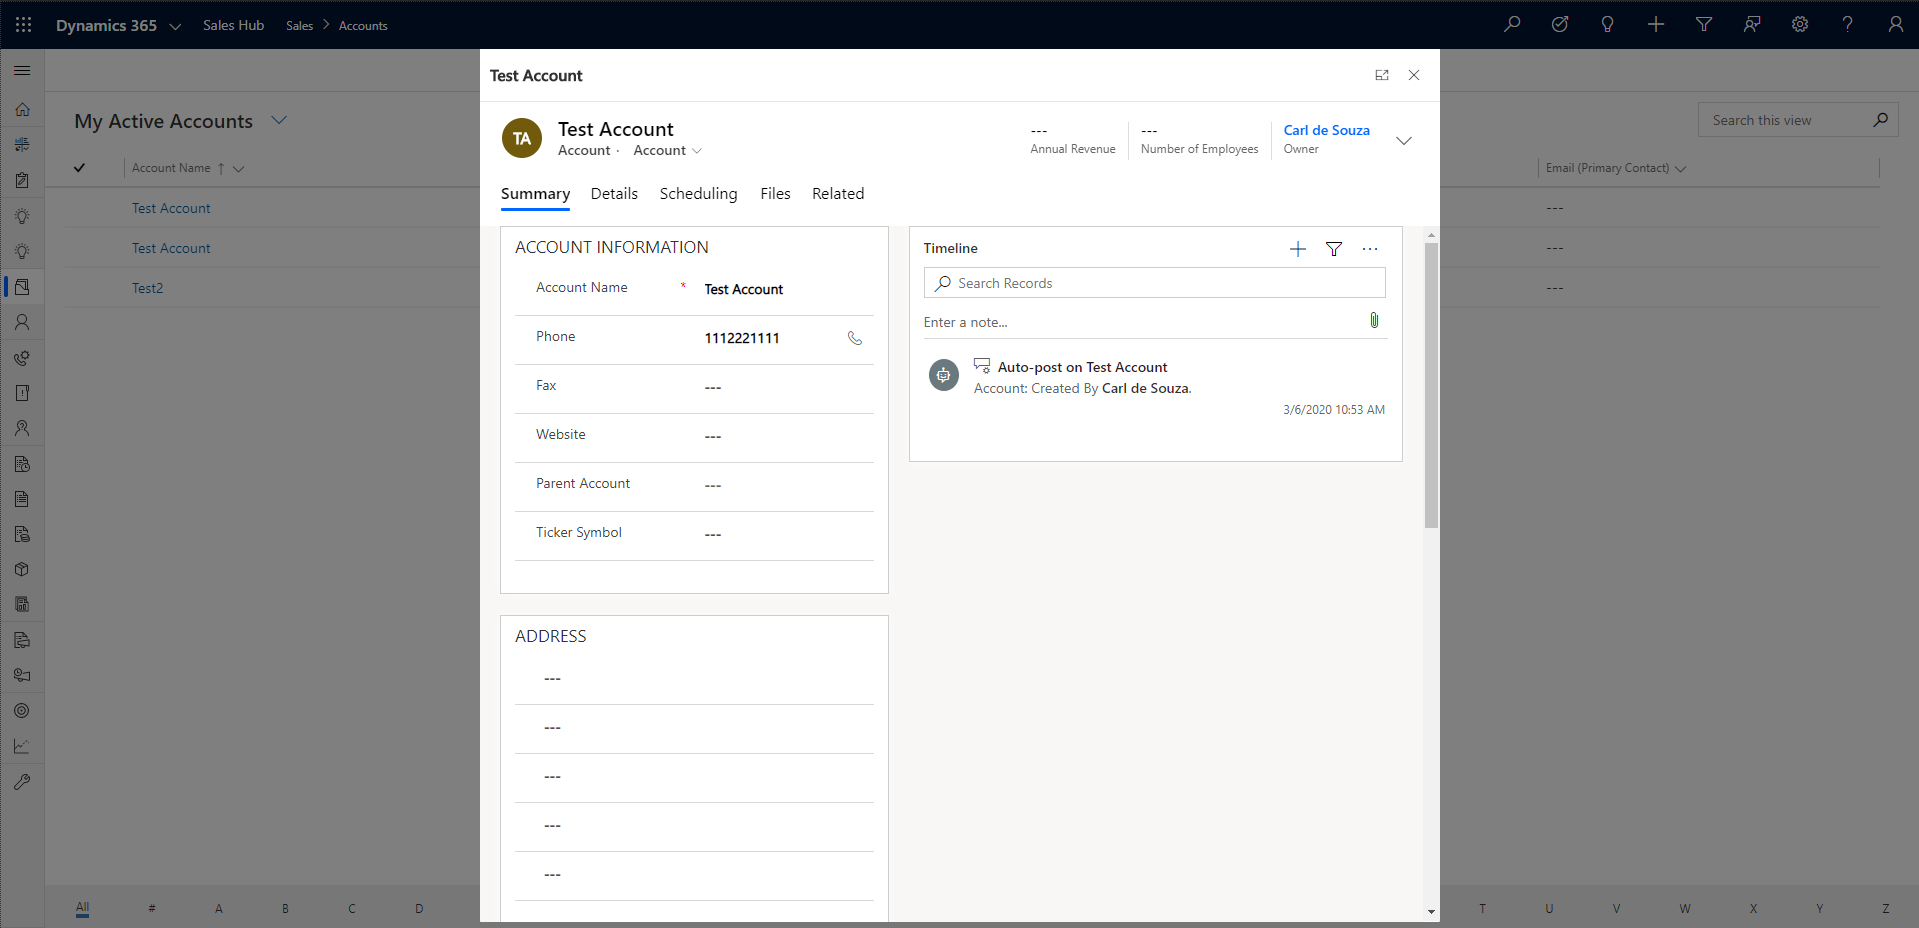
  • When an existing Project record is open and a new record is created from a custom button on the Project form’s ribbon, open the new record in a dialog.
  • When a new Project record is being created and the form has not yet been saved, the custom buttons should not be visible on the ribbon.
Let’s visualize the requirements to make them easy to comprehend:
Image 1. Custom buttons are visible when an existing Project record is open.
Image 2. When a custom button is clicked, a new record opens in a dialog.
Image 3. When a new record is being created and the form has not been saved, the custom buttons on the ribbon are hidden. Note that the custom buttons are also hidden in the new record dialog in Image 2.

JavaScript for MFD dialogs

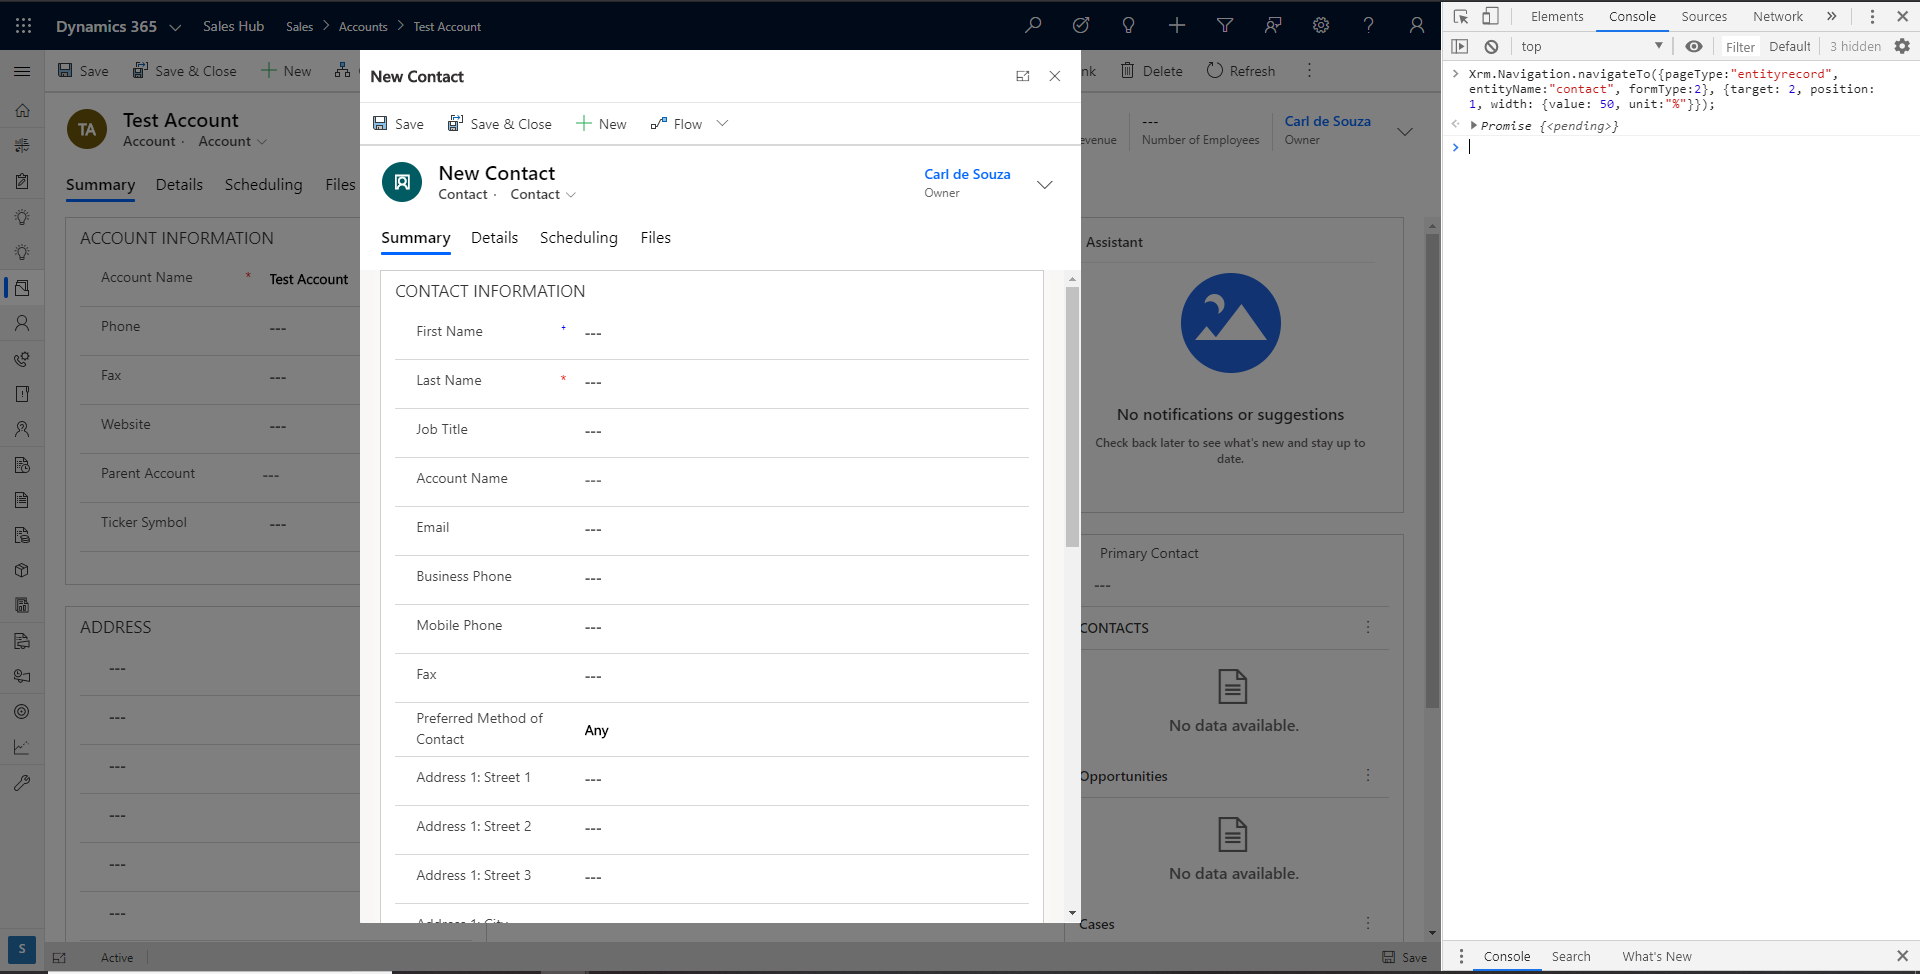
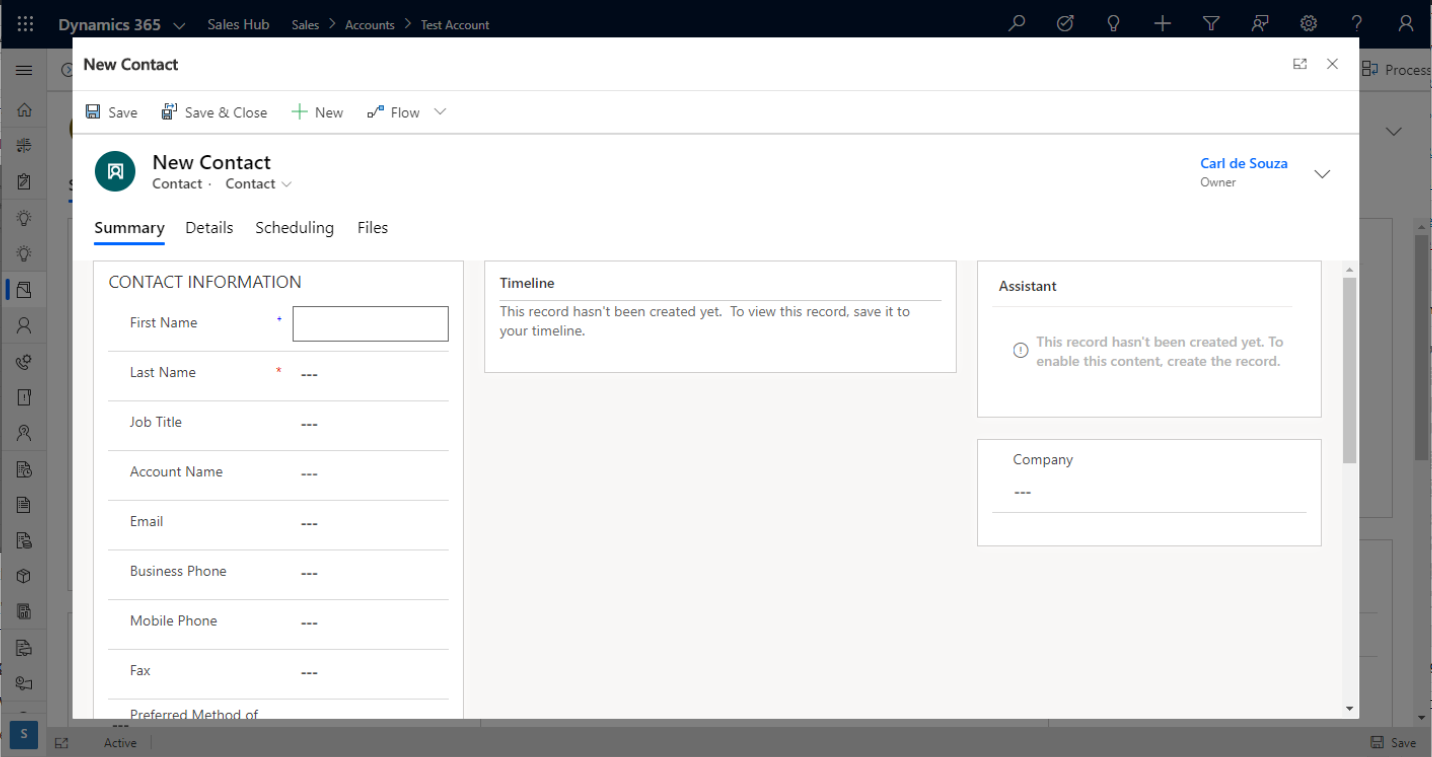
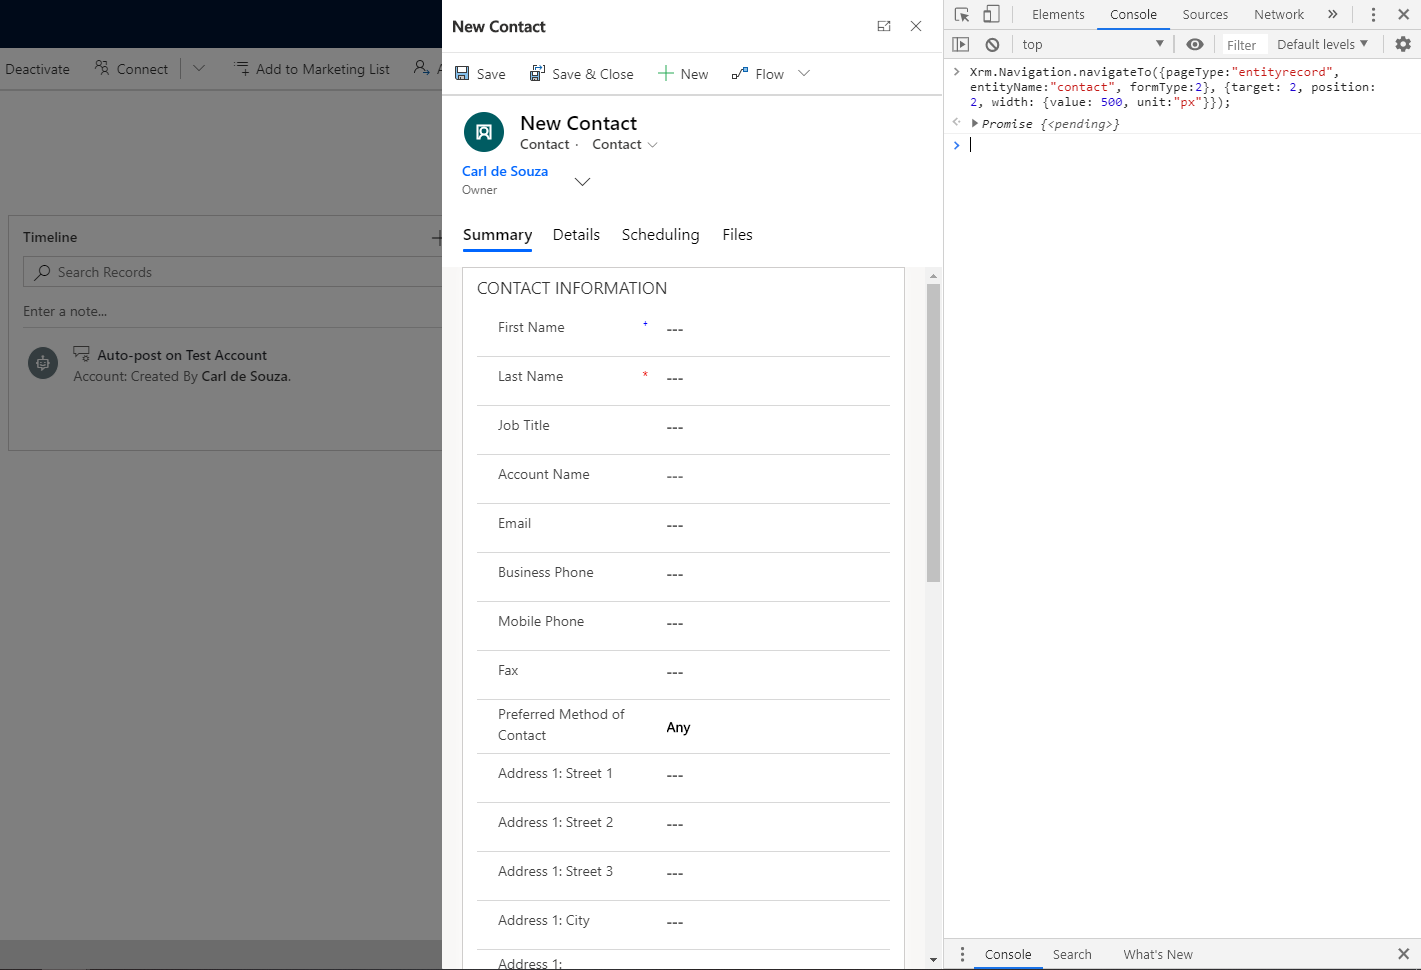
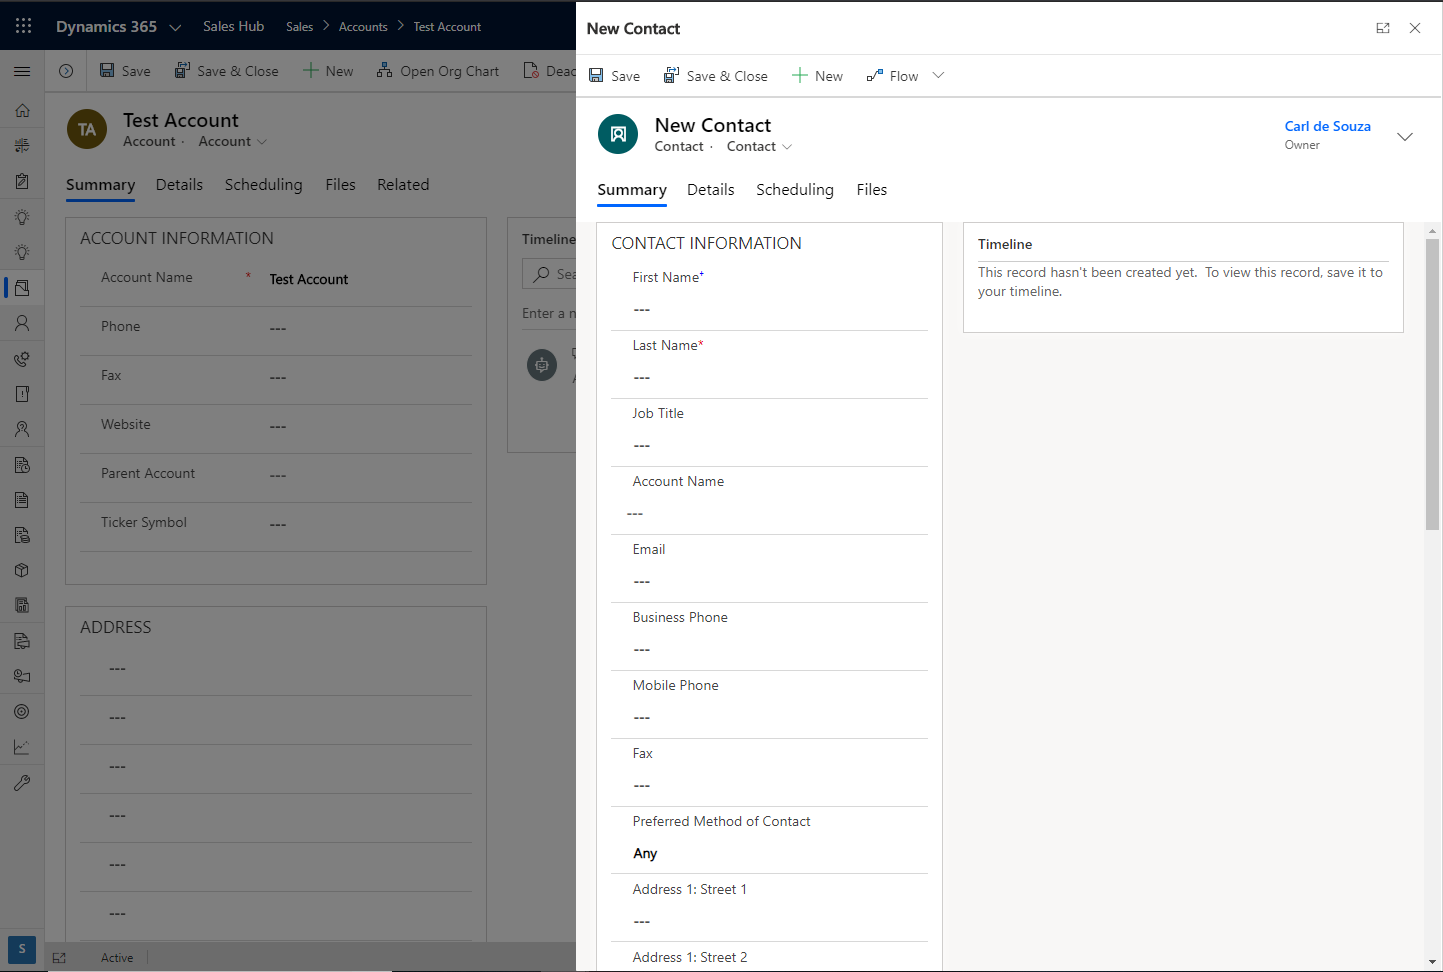
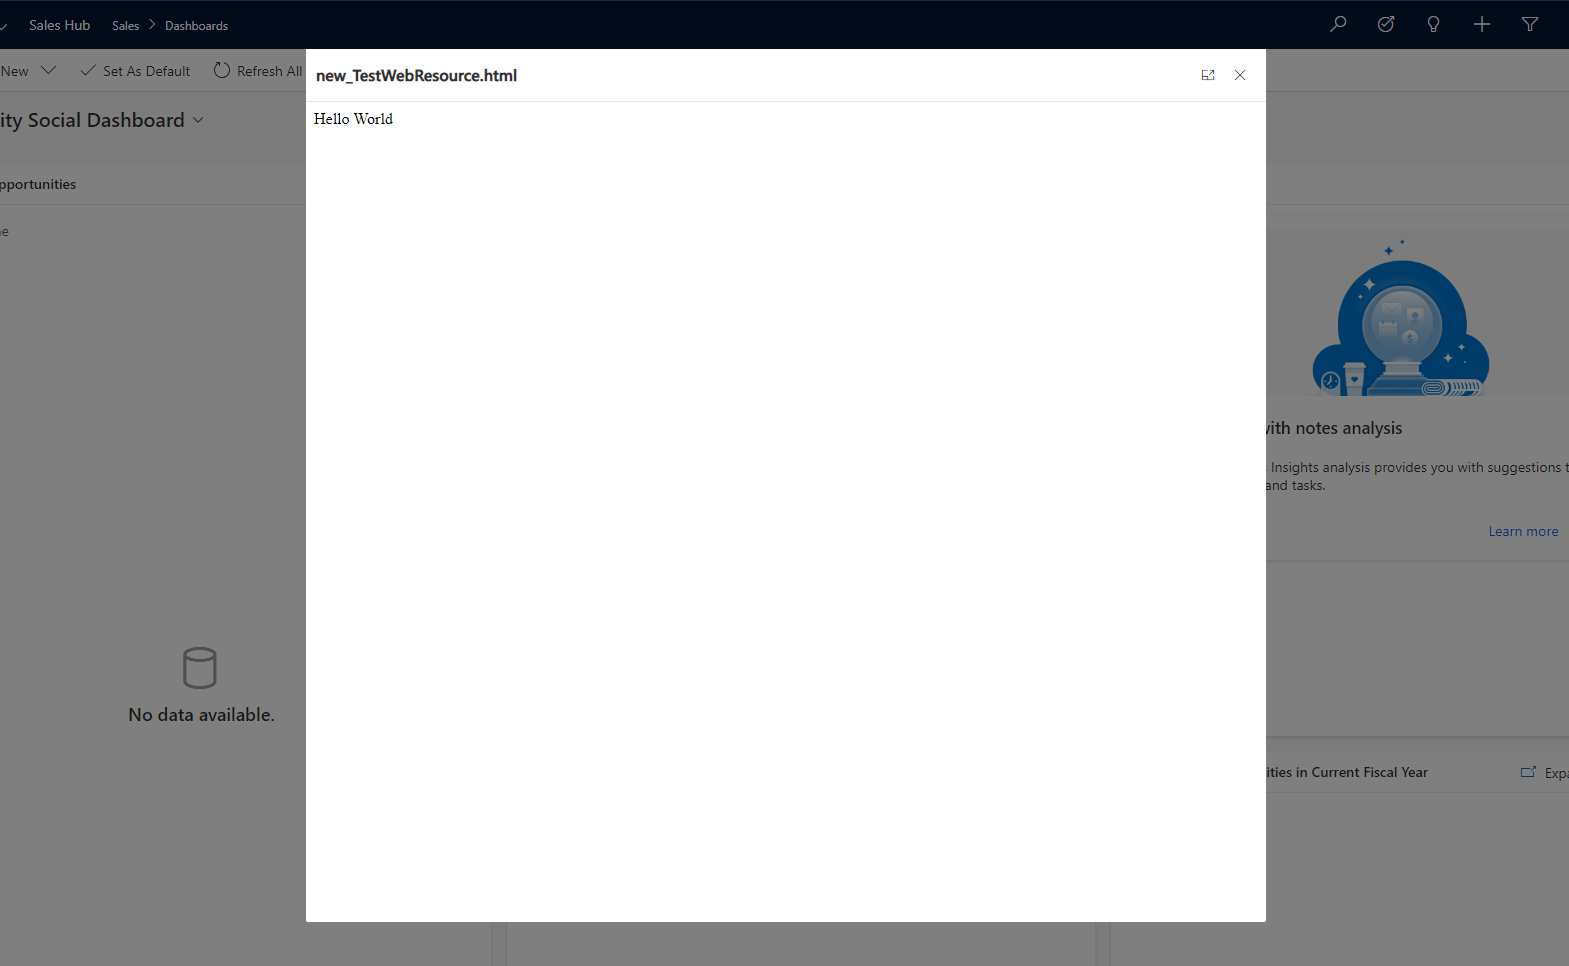
Let’s look at the JavaScrip that is used to open a new record dialog. In this example, a new dialog opens either in the center or on the right. Feel free to experiment on this feature by changing the values described on docs.microsoft.com.
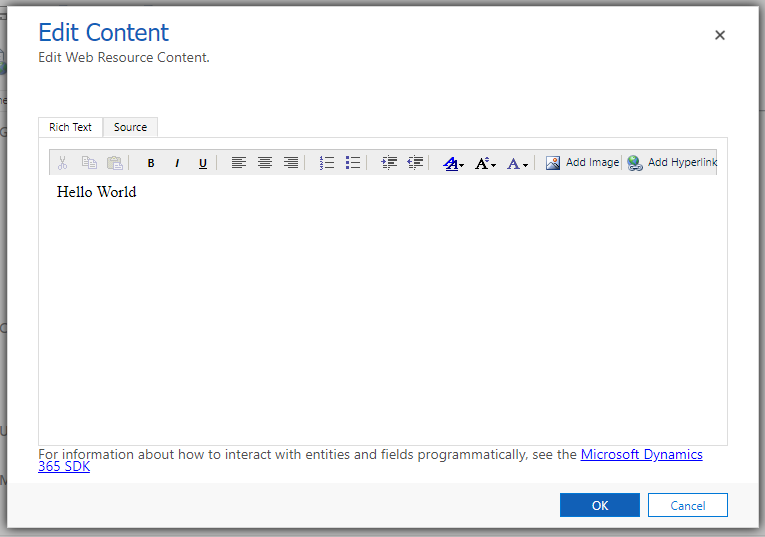
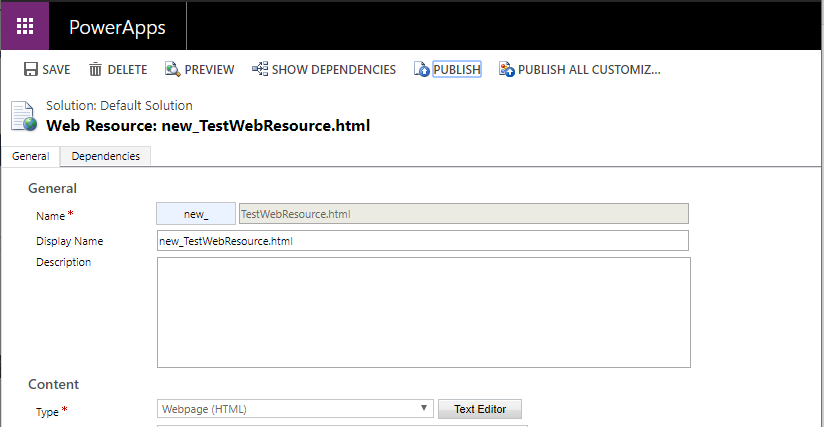
Create a new web resource per ribbon button and add the related JavaScript. The web resources are needed later on when the ribbon buttons are created. Ribbon Workbench will be used to create the buttons so add your web resources in a solution. If you are customizing P4W, remember the lack of ALM capabilities when it comes to working in the default environment. P4W customizations are, on the date of this blog post, essentially done “straight to production” as there is no named organization support in P4W. Consider using a trial tenant as your P4W development environment to achieve partial ALM for your customizations.
Image 4. Creating a new web resource.
The JavaScrip to open a dialog in the center is as follows:
function d2d_ProjectMfdCenter () {

Xrm.Navigation.navigateTo({pageType:"entityrecord", entityName:"msdyn_project", formType:2}, {target: 2, position: 1, width: {value: 50, unit:"%"}});
}
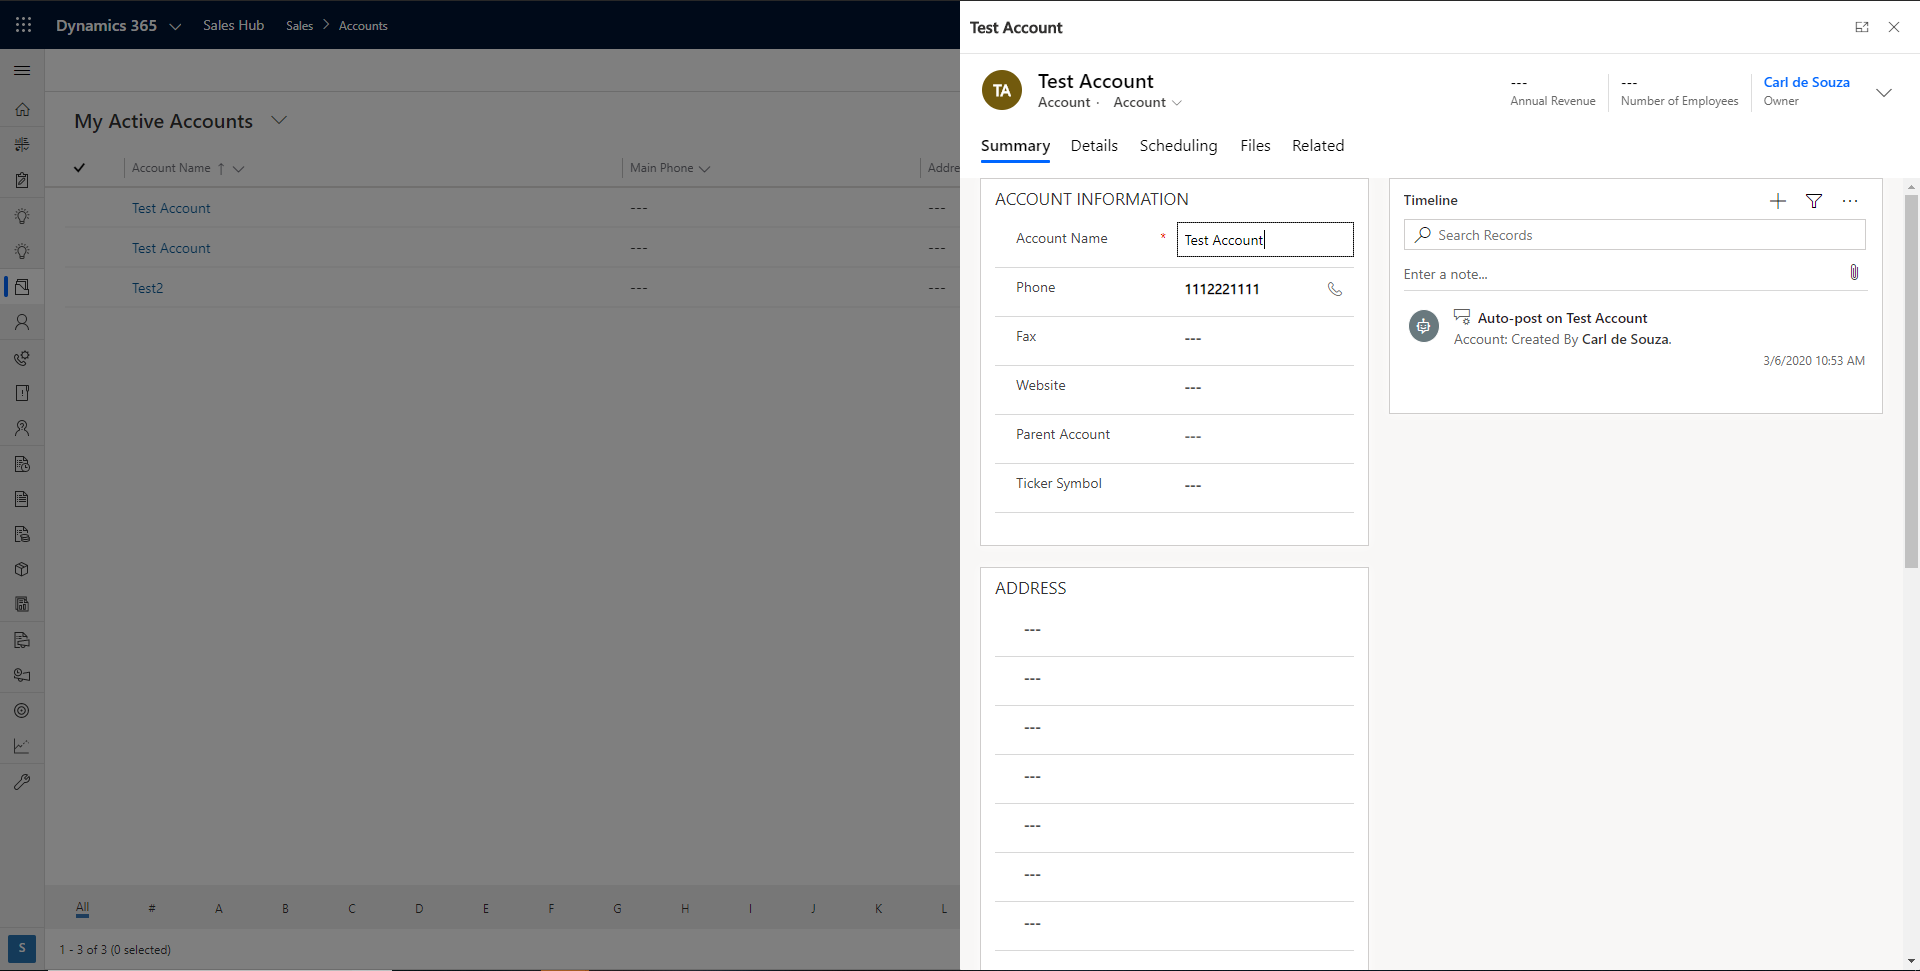
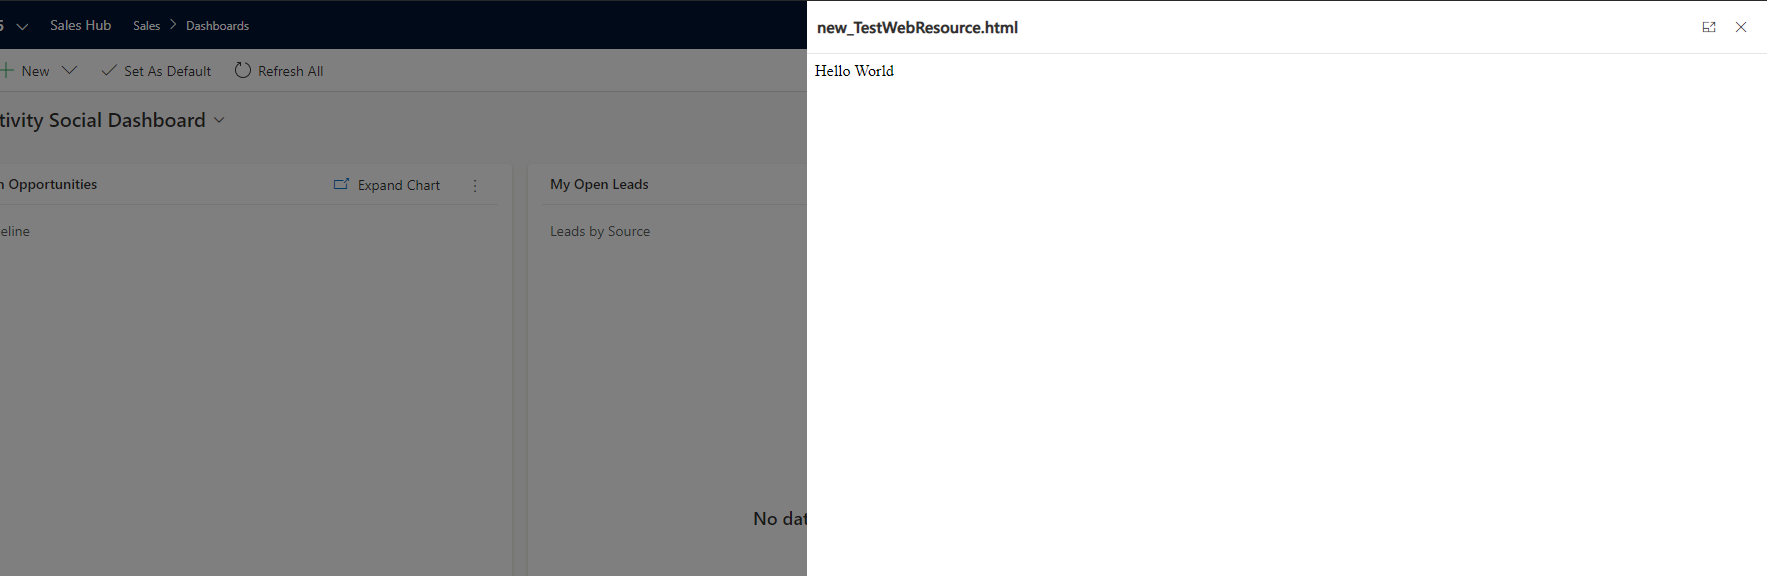
The JavaScrip to open a dialog on the right is as follows:
function d2d_ProjectMfdRight () {

Xrm.Navigation.navigateTo({pageType:"entityrecord", entityName:"msdyn_project", formType:2}, {target: 2, position: 2, width: {value: 500, unit:"px"}});
}

Create custom ribbon buttons with Ribbon Workbench

Before Ribbon Workbench is fired up, remember to add the entity related to your custom ribbon buttons to your solution. In this example, we’re customizing the Project entity. The Internet is full of guides for Ribbon Workbench so I’m assuming you know at least the very basics of it. Create the buttons you need and place them on the Project form’s ribbon. Where you place your buttons is entirely up to you. Let’s get started with the nitty-gritty for the buttons.

Display Rules

The first thing I’ve done is I’ve created a FormStateRule type of display rule for both buttons. There’s a really good article on display rules by Magnetism so if you want to learn more, check out this blog post. The catch with this rule is that our buttons are disabled when the Project form is in a “create” state. Create essentially means a new, unsaved record.
Image 5. Display rule for buttons.

Enable Rules

The enable rule for both buttons is very straightforward. I’ve set Un-customised (IsCore) to true for both buttons.
Image 6. Enable rule for MFD center.
Image 7. Enable rule for MFD right.

Commands

Here comes the part where we tie the JavaScripts we created to the buttons by creating an action and choosing the related web resource. Remember the function you’ve defined in your JavaScript. Add the display and enable rules that we created in the previous steps.
Image 8. Command for MFD center.
Image 9. Command for MFD right.

Buttons

The last step is to add some details for our buttons. I’ve copied the OOTB “New” button, which is used to create new records. Remember to choose the command created in the previous step.
Image 10. Button for MFD center.
Image 11. Button for MFD right.
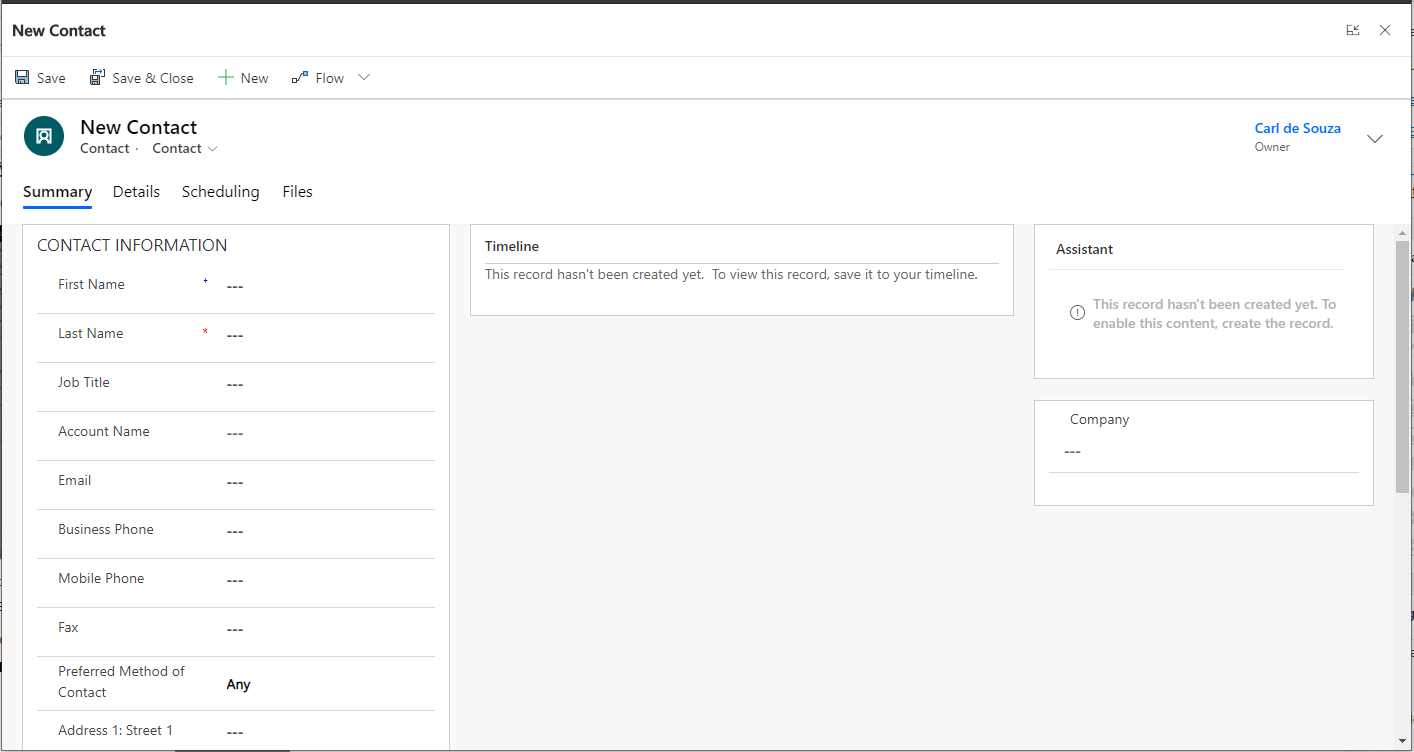
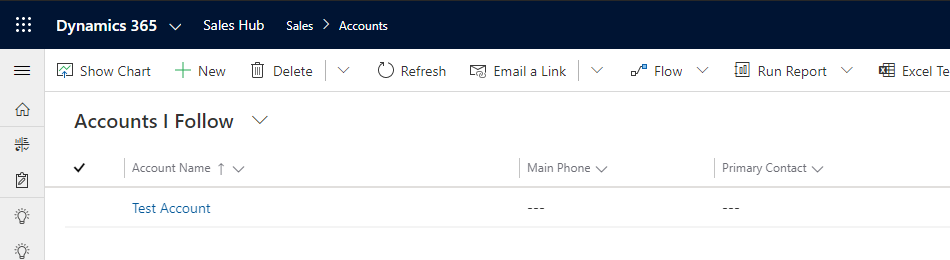
With all the steps complete, it’s time to publish and test the buttons. The results should be similar to what is displayed on images 1-3. If you’re comfortable with JavaScript, the next step could be to create something more complicated. For example opening an Account related to a Project.

USING THE NEW MODAL DIALOG TO OPEN FORMS IN DYNAMICS 365 USING XRM.NAVIGATION.NAVIGATETO


We will access these modal forms through JavaScript. In this example, we will select an account record and open the Contact form as a modal.
So we’ll start on an Account record:
The command is:
Xrm.Navigation.navigateTo(pageInput,navigationOptions).then(successCallback,errorCallback);
We will pass through the following command to our browser developer console (you can call this from anywhere you need to):
Xrm.Navigation.navigateTo({pageType:”entityrecord”, entityName:”contact”, formType:2}, {target: 2, position: 1, width: {value: 50, unit:”%”}});
We see the modal Contact form opens over the Account form:
If we click outside the Contact form (on the Account form), we are unable to get focus back to the Account form. The idea here is that the user can be on a Dynamics 365 page, and then view or work on another record, and be able to get back to the original record easily.

Close, Minimize, Maximize

The user needs to click on the X close button or Save and Close.
Also note the option to pop this out to Full Screen Mode:
Which takes up the whole browser window:
We can click to get back to the original modal size:
Let’s look at the options available when opening modals. We are passing objects with the attributes:
Page Input = {pageType:”entityrecord”, entityName:”contact”, formType:2}
Navigation Options = {target: 2, position: 1, width: {value: 50, unit:”%”}}

Size

Let’s open a form to 95%. Note we can pass the width unit as % or px, and then the unit.
We see the 3 columns on the form can be displayed as a result:
Xrm.Navigation.navigateTo({pageType:”entityrecord”, entityName:”contact”, formType:2}, {target: 2, position: 1, width: {value: 95, unit:”%”}});

Position

We can also pass in the Navigation Options position = 2, we the form now opens to the side (1 = center):
Xrm.Navigation.navigateTo({pageType:”entityrecord”, entityName:”contact”, formType:2}, {target: 2, position: 2, width: {value: 500, unit:”px”}});
This is similar to a quick create form, though we’re seeing all the tabs available for selection.
We could enlarge this side view by making the size bigger:
Xrm.Navigation.navigateTo({pageType:”entityrecord”, entityName:”contact”, formType:2}, {target: 2, position: 2, width: {value: 60, unit:”%”}});

Existing Record

To open an existing record, we can do the following, passing the Id of the record to open:
Xrm.Navigation.navigateTo({pageType:”entityrecord”, entityName:”account”, formType:2, entityId:”71f0728d-c25f-ea11-a811-000d3a3be299″}, {target: 2, position: 1, width: {value: 50, unit:”%”}});
Or on the side:
Xrm.Navigation.navigateTo({pageType:”entityrecord”, entityName:”account”, formType:2, entityId:”71f0728d-c25f-ea11-a811-000d3a3be299″}, {target: 2, position: 2, width: {value: 50, unit:”%”}});

Entity List

navigateTo can also be used with with entity lists. For the pageType, passing entiylist will open the list:
Xrm.Navigation.navigateTo({pageType:”entitylist”, entityName:”account”}, {target: 2, position: 1, width: {value: 50, unit:”%”}});
And we can pass the Id of a view to open it:
Xrm.Navigation.navigateTo({pageType:”entitylist”, entityName:”account”, viewId:”61273827-328e-e011-95ae-00155d9cfa02″}, {target: 2, position: 1, width: {value: 50, unit:”%”}});

Web Resources

We can also open web resources. For example, if we have a web resource below:
With the name new_TestWebResource.html:
We can open it like below:
Xrm.Navigation.navigateTo({pageType:”webresource”, webresourceName:”new_TestWebResource.html”}, {target: 2, position: 1, width: {value: 50, unit:”%”}});
And on the side:
Xrm.Navigation.navigateTo({pageType:”webresource”, webresourceName:”new_TestWebResource.html”}, {target: 2, position: 2, width: {value: 50, unit:”%”}});
It looks like Microsoft *could* add more parameters and therefore functionality to this capability, which would be interesting. Andrew Butenko has a good post on some of the limitations with using this for web resources

Dynamics 365 Customisation and configuration — MB2–716 study notes

Dynamics 365 Customisation and configuration — MB2–716 study notes


Business process flows
  • Order of flows is used if multiple flows are available for your security roles
  • Users can switch business process flows if their security roles can see multiple business process flows.
Security
  • A team must belong to a business unit
  • A team can own records
  • Business units have a default team created by Dynamics 365, you cannot edit these or add/remove users.
  • You can add a custom control to data types — data and time, multi-line, single line
  • There are 9 entities enabled for auto numbering — contracts, cases, articles, quotes, orders, invoices, campaigns, categories and knowledge articles
  • If you enable Yammer, you cannot disable it.
Email
Different email architecture/Dynamics 365 mixes
  • Local exchange server — On premise Dynamics 365
  • Office 365 exchange — Dynamics 365 online
  • Office 365 exchange — Dynamics 365 on premise
  • Server side sync — Dynamics exchange integration allows appointments, tasks and contacts to be synchronized (optional)
Email clients
  • Dynamics 365 for Outlook Client
  • Dynamics 365 App for Outlook
  • Folder tracking
Entity
Entity properties which cannot be disabled once enabled
  • Business Process flows
  • Feedback
  • Notes
  • Activities
  • Mail Merge
  • Connection
  • Sending email
  • Queues
  • Change tracking
  • Offline capability for Dynamics 365 for Outlook
Entity properties you can disabled once enabled
  • Access Teams
  • Knowledge Management
  • Enable for SLA
  • Allow quick create
  • Duplicate detection
  • Auditing
  • Single record auditing
  • Multiple record auditing
  • Enable for phone express
  • Reading pane in Dynamics 365 for outlook
  • Use custom help
Folder tracking
  • Folder tracking is tracking folders using server side sync and not limited to one email client
  • Folder tracking only works with server side sync
  • Folder tracking only works with exchange
  • Tracked folders work with Exchange Inbox rules
  • The tracking folders feature must also be enabled by your administrator
  • You can only track folders or subfolders inside your Exchange Inbox
  • You can set up multiple folders that link to the same regarding record
  • You can include an untracked folder inside a tracked folder
  • If you no longer need to track a folder, it’s a good idea to untrack it for performance reasons. To untrack a folder, remove it from the Folder-Level Tracking dialog box.
  • You can track emails only in folders under your Inbox folder in Exchange. Other folder emails cannot be tracked.
  • You can track up to a maximum of 25 folders per user account
  • Any manual changes done to the regarding object in the tracked activity records in Dynamics 365 will be overridden the next time server-side synchronization kicks in. For example, if you have set up a mapping between the Adventure Works folder and the Adventure Works account, all the emails in the Adventure Works Exchange folder will be tracked as activities in Dynamics 365 with the regarding set to the Adventure Works account record. If you change the regarding to some other record, it will automatically be overridden the next time server-side synchronization occurs. To change the regarding for any email, move the email to a different folder such as the Inbox.
App for outlook works at server level
Email Synchronisation
  • Dynamics 365 for Outlook
  • Server side sync
  • Email router is dead soon
  • Server side sync doesn’t need a users outlook to be open
  • Server side sync works with Dynamics 365 online or on premise and Exchange online or Exchange on premise. Any mixture of those
  • Mailboxes are created for users and queues
  • Separate options for incoming and outgoing email
  • You can set either or both incoming and outgoing sync to none
  • Forward Mailbox — you can set multiple users to be configured with a forward mailbox
  • Stop users synchronising with system settings à Email à incoming email and outgoing email to none
Mobile
  • Dashboards can be made available for tablets
  • In properties you can enable dashboard for tablets and individual sections for mobile
  • Only first 5 tabs or 75 fields/10 lists appear on mobile client
  • Set available on Phone checkbox to show/hide tabs in mobile
  • Collapsed tabs still count
  • Only 5 tabs will show even if it’s less than 75 fields
  • You have to put fields in the first five tabs for them to appear in a mobile client
  • Mobile can have specific mobile only controls (sliders)
Business rules
Business rules can
  • Add recommendation
  • Lock/Unlock
  • Show Error Message
  • Set field values
  • Clear field values
  • Set default values
  • Set business requirement level
  • Set Visibility (Show or hide fields)
  • Enable or disable fields
  • Validate data and show error messages
  • Create business recommendations based on business intelligence.
Business rules
  • Business rules can have 10 Conditional Branches
  • Business rule scope
· All forms — all forms, quick create and main
· Entity — can run form and server side.
· Entity — server level will run on create or update
· Entity — if server enable will run when data is imported
· Single form scope — only runs for the specified form
· To change scope of business rule you must deactivate first
Access teams
  • Sub-grid for Access Teams (must enable entity for access teams)
  • Access team templates will applying a standard set of privileges (read, write, delete, append, append to) rather than having to set this up for each individual user/team.
  • Access Team templates are enabled on an entity basis and you have to enable Access Teams on the entity in the communications and collaboration
  • When records are deactivated, access team permissions are not affected
  • Access teams don’t have security roles
  • Access teams can’t own records
  • Access teams are created and managed by CRM
  • An access team is created when you have added the first user
  • Access teams are not visible in default team views
  • Sharing records via access teams isn’t displaying in the sharing screen
  • Access teams can’t be used in resource scheduling
  • Multiple access teams can be linked to a single record
  • Access Team Templates, support dynamic record sharing. With the members of an access team being given privileges on specific records based on the access team template.
  • access teams do not have roles and cannot own record
Facts and stats about Access Teams, the bits below are useful for those who study MB2–703
  • You can add more than one Access Team template for each entity
  • The default number of access teams templates for each entity is two
  • The number of access team templates you can have for each entity is controlled by the MaxAutoCreatedAccessTeamsPerEntity deployment setting.
  • MaxEntitiesEnabledForAutoCreatedAccessTeams deployment setting has a default value of 5. This controls the number of entities it’s possible to enable for auto-created access teams.
  • You can change the MaxEntitiesEnabledForAutoCreatedAccessTeams , MaxAutoCreatedAccessTeamsPerEntity only on Premise installations and you cannot edit them for Online.
  • A system generated Access Team isn’t created for each record until you add a user to the sub grid on the entity.
  • if you delete the team, this is the same removing all the members in the sub grid on the record.
  • if you change the access rights on Team Template this will only change the access right to new entity records/access teams. Any records already created will use the previous set of privileges.
  • Access teams with Share access right ticked will mean any user who is in access team will be able to add (share) others to the access team for that record.
  • Users cannot grant privileges they do not have. So a user can only add new members to an access team where the access team template has create privilege only if that user has the create privilege for the entity.
  • Access Teams created automatically by adding users to them are not shown in the system team views
  • Access Teams created automatically can be seen by doing an advanced find and select Team Type = access
  • Access Team created automatically have the is system managed field set to true
  • Access Teams can be un ticked on an entity (unlike Queues)
  • If you want to delete a Access Team Template you will need to remove all the sub grids using that specific Access Team Template before you can delete it.
Entity assets
Below are the following entity assets
  1. Forms
  2. Views
  3. Charts
  4. Fields
  5. Keys
  6. Relationships (1:N, N:1, N:N)
  7. Messages
  8. Business Rules
  9. Hierarchy Settings
  10. Dashboards
  • You don’t have select all the entity assets
  • You can add the entire entity by checking the Add All Assets Checkbox
  • You can manually select specific assets by selecting them
  • Fewer assets means fewer dependencies and quicker deployments
Business process flow
  • You must enable Business process flow on an entity
  • Once an entity is enabled BPF you cannot disable it.
  • Each entity can have no more than 10 activated business process flows
  • Multi-entity process can use no more than five entities.
  • A business flow has a primary entity but can span multiple
  • Branches can be only 5 levels deep
Business rules
  • Set scope to Entity if you want a business rule to run on the server, not just on the client side
  • Business rules are not triggered when you save a record
  • Business rules are triggered when a record is opened or when a field is changed which the rule conditions are set to check e.g Form OnLoad and Field OnChange
  • Business rules action will run only if condition is true
Rollup fields
  • Rollup fields recalculate once an hour
  • Rollup fields supported — Whole Number, Date and Time, decimal, currency
  • Maximum 100 per organisation
  • 10 rollup fields per entity
  • If you make a rollup for a currency field, it will create one for the base
  • Rollup fields not supported — Option set and Lookup
  • Aggregate value of records related to a specific record
  • Rollups fields are asynchronous, they don’t run in real time
  • Rollup fields can be run by workflows or business rules
  • Rollup fields can be refreshed manually or triggered by a workflow
  • Rollup Fields are automatically rolled up 12 hours after they are created
  • A workflow can’t be triggered by the rollup field updates.
Custom actions
Highlights from the link above — click the link to see al
  • Actions are created using a Workflow entity record
  • Can be associated with a single entity or be global Can be associated with a single entity or be global (not associated with any particular entity).
  • Is executed in the core operation stage 30 of the event execution pipeline.
  • Supports the invocation of plug-ins registered in the pre-operation and post-operation stages of the event execution pipeline.
  • Is available through the Web API or svcand organization.svc/web endpoints.
  • Can be executed using a JavaScript web resource.
  • Always runs under the security context of the calling user.
  • Supports input and output arguments.
  • Isn’t supported with offline clients.
  • Can be invoked by a web service method call.
  • Can be invoked directly from a workflow.
Highlights from the link above — click the link to see all
Database indexes
  • Need to be created by a Microsoft service engineer, create a support request
Fetch XML Limitations
  • 10 linked entities
  • No Right Outer Join
  • No SQL Functions
  • No Sub Queries
  • No support for Union
  • No Case/When type functionality
  • Can’t compare 2 fields directly
  • 50,000 records per query aggregate
  • 5,000 records per query (paging for more)
Business Rules
  • Can’t run when the record is saved
  • Can’t interact with tabs or sections
  • OnChange events are not triggered when business rules set a field value
  • Rules with invalid references are not ran, there will be no error message
  • Whole number fields with TimeZone, Duration, or Language format are not supported
  • Up to 10 if-else conditions per rule
  • Rule definitions are cached in the mobile app, must close and re-open the app for changes
  • Must create a separate rule to clear actions of a previous rule, if necessary
Calculated fields
  • Saved queries, charts, and visualizations can have a mx of 10 unique calculated fields
  • The calculated field values are not displayed in Outlook Offline mode
  • A max number of chained calculated fields is 5
  • Can’t refer to itself or have cyclic chains
  • Can’t access parental fields with a multi-entity Lookup
  • Sorting is disabled on:
· A calculated field that contains a field of a parent record
· A calculated field that contains a logical field (for example, address field)
· A calculated field that contains another calculated field
  • Can only span 2 entities
  • Can’t trigger workflows or plug-ins
  • Can’t change an existing simple field to a calculated field
  • Duplicate detection rules are not triggered on calculated fields
Rollup fields
  • Max of 100 per organization
  • Max of 10 per entity
  • Can’t trigger workflows
  • Can’t be used in a workflow wait condition
  • A rollup over the rollup field is not supported
  • Can’t reference a calculated field that uses another calculated field
  • Can only apply filters to the source entity or related entities, simple fields or non-complex calculated fields
  • A rollup can’t be done over N:N relationships
  • Can’t be done over 1:N relationship for the Activity entity or the Activity Party entity
  • Aggregated under the system user context, all users see the same rollup field value
ExecuteMultipleRequest
Mutliselect Option Set
  • The field cannot be used in Business Rule, BPF, Workflows — Create n Update Step, Not available as filtering attribute in Plugin.